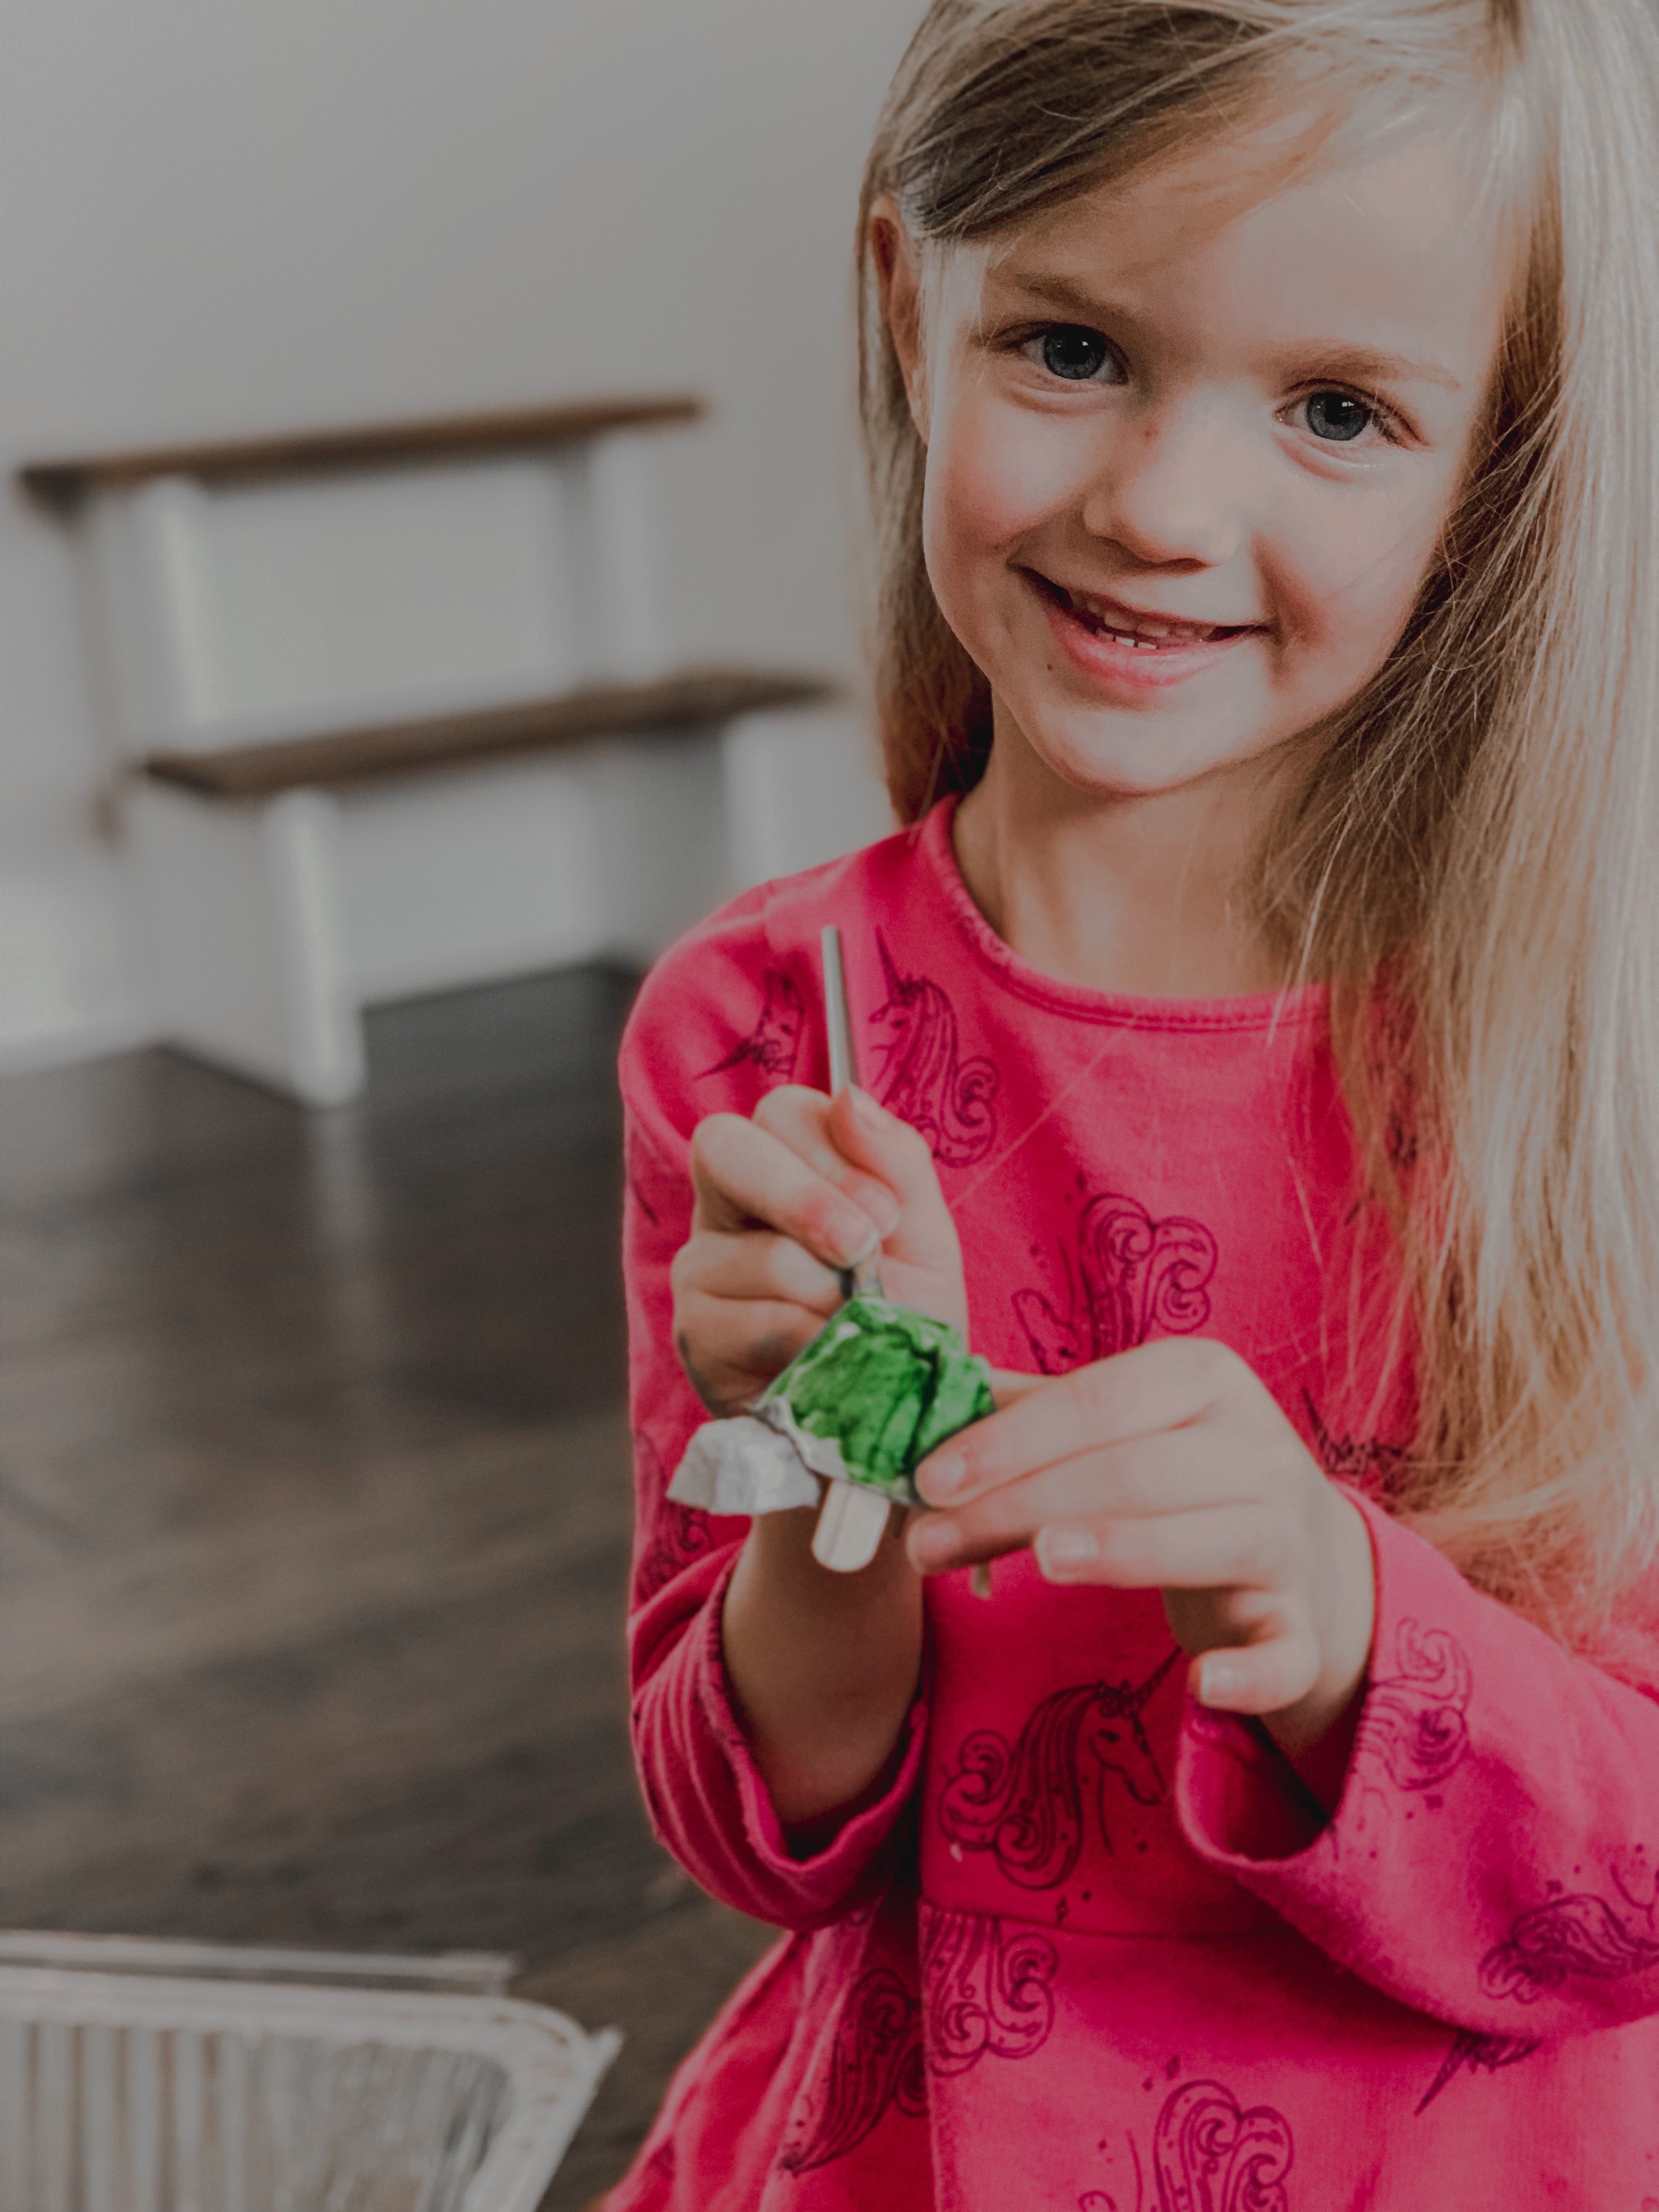
believe me when I tell you these are as cute as they sound!!!
If I knew where I got this idea I would absolutely credit where it is due, but this was so long ago it just escapes me. I’m sure it was one of those days where I knew we should do something so I called on pinterest to help!
luckily on a farm, we have no shortage of egg cartons! so when I came across this is just seemed wayyyy to perfect not to at least try right? I will say, cutting the carton was a little tricky! I strongly advise an adult do the cutting. I found that the carton often slipped and turned while cutting. those cartons are tougher than they look!
the glue got a little messy as well, but how does it not anyway!
you’ll notice we also used popsicle sticks for the legs, this is easy replaces with kebob sticks or pipe cleaners. we also used extra bits of egg carton for the heads and tails. they were the perfect shape and allowed for less supplies overall! Get creative! find what word around the house and make a completely different animal if you want! I like to find ways to leave it entirely up to my child’s imagination.
I think that happens often though, right? the craft is supposed to be a turtle, so my adult mind says ok paint it green! but why? why does a fake turtle have to be green? why not rainbow or stripes or neon pink? the really is the root of homeschooling though right? give them the tools to learn and guide them, but let them with the addition to their own imagination and creativity. that is ultimately what will keep them interested in learning and wanting to do more!
so, all that to say, make your turtles as wild and colorful as you can possibly come up with! or even you feel so bold, making it into something completely different. ☺️
supplies:
egg carton
paint + brushes
scissors
popsicle sticks
{grab any other decorations to decorate your turtles!}
directions:
step 1- cut out each compartment from egg carton for the shells
step 2- cut smaller pieces from the carton for the heads
step 3- carefully cut/break the popsicle stick into 4 pieces per shell for the legs + tails
step 4- take the legs and glue them to the inside of the shell on all four sides, followed by the head and tail at the front and back
step 5- place unpainted turtles upside down to allow them to dry and the glue to harden
step 6- once your glue is dry and your turtles can stand upright on their own, paint away!
🐢


